How to Change a Plug Socket
Plug Sockets are essential in most rooms of the home or office, but they can get damaged and sometimes you might want to replace them for cosmetic reasons. This guide will walk through the process of swapping one set of plug sockets for another and is a companion piece to our guide on how to put up a shelf.
What tools do you need to change a plug socket
This is a task that can be accomplished with a couple of hand tools, specifically:
- Screwdriver(s)
- Socket Tester
- Cable Cutting Pliers
If you’re upgrading from a single socket to a double, you might also need a Cordless Combi Drill and a Detector.
What kinds of Plug Socket are available?
There are two main types of Plug Socket available. The ‘traditional’ choice is the Wall Mounted Socket; these are the white boxes that can be found above skirting boards or on walls in most places. These are easier to fit than Flush Mounted Sockets – which sit in a recess, flush to the wall – but Flush Mounted Sockets look neater and are less prone to accidental damage.
Then there’s the question of whether you need USB-ready Sockets. These are sockets which allow you to plug devices into the mains without the need for an adaptor plug. They’re the same size as ordinary Sockets and relatively easy to fit.
The ToolStore UK range of Electrical Supplies includes sockets both with and without USB slots.
Ensure you work safely
Always install or replace Plug Sockets in accordance with local Building Regulations. If you are in any doubt about what you need to do, or are required to by the law, consult a competent person who is registered with an electrical certification scheme.
Never take risks with electrical safety. Before you start any type of electrical work, you must follow these following safety precautions:
- Switch off the main power at the consumer unit/fuse box.
- Isolate the circuit you plan to work on by removing the circuit fuse. Put this in your pocket to avoid accidental replacement. You could switch off the breaker and lock it where this is possible.
- Attach a note to the unit to let others know you are working on the circuit.
- Check the circuit is dead with a socket tester or voltage tester/meter for lighting circuits.
If the cable won't reach the terminals of the new socket without straining, don’t pull it. Use a specially designed crimp or terminal block to attach a new short length of cable. Only do this if there is room for it inside the mounting box - all wiring connections must be accessible and not buried in the wall behind.
Bear in mind that modifications to any circuit must comply with the latest IEE Wiring Regulations. New or replacement cables or sockets may need RCD (Residual Current Device) protection which would switch the power off automatically in the event of a fault.
READ MORE: How To Put Up A Curtain Rail
How to replace a damaged socket
If you have a scorched circuit, the damage was probably caused by overloading or by loose connections in a plug. Don’t plug the appliance(s) back in without dealing with the problem, or it will happen again.
Step 1
Isolate the socket and use a Socket Tester to check that you can work on the socket. Unscrew the faceplate and pull it away from the wall. Keep the old screws in case the new ones don’t fit.
Step 2
Loosen the terminal screws and release the cable cores. If the insulation has been damaged, cut back the cores and strip the ends, using Milwaukee VDE Wire Stripping Pliers or a similar tool. Run green and yellow sleeving over the earth core if it is exposed. The metal back boxes must be earthed, so run a short length of earth cable between the earth terminals of the back box and the faceplate.
Step 3
Connect the live core(s) to the Live terminal (L) of the faceplate, the neutral to the neutral terminal (N) and the earth core to the earth terminal (Earth symbol). Fully tighten the terminal screws, then fit the new faceplate. If the new screws don’t fit the lugs of the old box, reuse the original screws. Finally, use the socket tester to check everything is wired correctly.
READ MORE: How To Wire A Light Switch
How to replace a single flush socket with a double socket
It isn’t difficult to swap a flush mounted single socket with a wall-mounted double socket. You can either get a socket conversion box or use a standard double socket and drill and plug the wall. This is the method we’ll show below. If you want the new double socket to be flush mounted, you’ll need to remove the old box and create a larger recess for the new one.
Step 1
Isolate the socket and use a Socket Tester to check that you can work on the socket. Unscrew the faceplate and disconnect the cables from the terminals of the single socket mounting box. If you find that the earth core is exposed, run yellow and green sleeving over it.
Step 2
Remove the knockout (the small removable piece in the centre) from the new surface mounting box and pass the cables through. Then use a pencil to mark the fixing holes on the wall. Take the box away, then check for hidden pipes or cables. Once you’re sure it is safe to do so, drill and plug the wall.
Step 3
Screw the new box in place and connect the cables to the terminals. Fit the new faceplate and use the Socket Tester to check it is correctly wired.
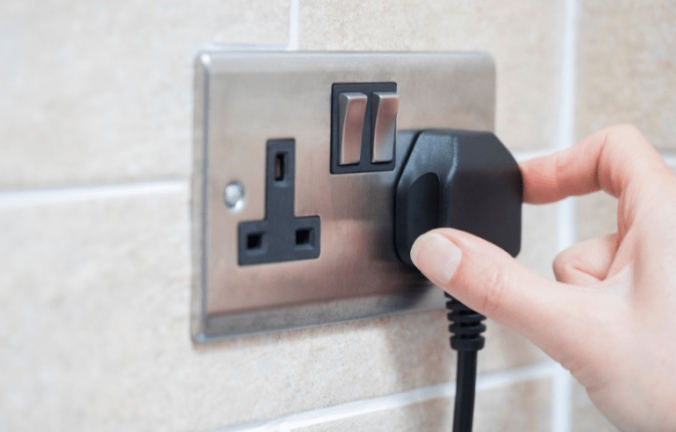
![Changing a plug socket]()
How to flush mount a socket into a solid wall
If you’re going to flush mount a socket box into a solid wall, so that it doesn’t jut out into the room, you’ll need to cut a neat recess through the plaster into the masonry behind. This is dusty work that will require some extra tools. Gloves and safety goggles would be a good idea too. You may wish to consider the use of a mask from our Eye and Face Protection range.
Step 1
The first thing to do is check the wall for hidden pipes and cables using a Detector. If the wall is clear, hold the mounting box in position, using a Level to make sure it is at the correct height and position. Draw the outline of the mounting box on the wall. Then take a power drill with hammer action (see our blog about the Best Cordless Power Drills for additional information) and a Masonry Drill Bit and use it to make a series of holes within the outline; these holes should be slightly deeper than the mounting box. If your drill has a depth stop, you can set this to make sure you don’t go too far into the wall or wrap a small piece of masking tape around the point on the bit which corresponds to the depth you need.
Step 2
Chop out the plaster and masonry using a Bolster and Club Hammer (such as the OX Trade Fibreglass Handle Club Hammer) and cut down to the bottom of the drilled holes. Brush out the debris and check the box fits snugly.
Step 3
Hold the socket box in place, mark the fixing positions, then drill and plug the holes. Cut a channel for the cable before attaching the box. Isolate the circuit, then make the final connections. Fix the faceplate, then use a Socket Tester to check the wiring is correct.
How to flush mount a socket into a stud wall
The easiest way to flush mount a socket into a stud wall is to use a cavity fixing box. This has a flange which sits against the face of the wall and lugs which are either spring-loaded or can rotate. These lugs provide extra flexibility when the fitting is positioned.
Step 1
Once you’ve decided where you want to put the socket, you can either use a Stud Detector to check that the wall’s framework isn’t in the way, or gently tap the wall with a hammer. You should hear a hollow note, which will change if you’re tapping part of the framework.
Hold the box in place, use a Level to make sure it is horizontal, then draw around the box in pencil.
Step 2
Check the area is free of hidden pipes and cables. Push and twist a screwdriver through the plasterboard at diagonally opposite corners of the outline. These are so you can insert a plasterboard saw or other Jabsaw into the workpiece. Cut outwards from the holes, following the outline, then remove the waste piece of plasterboard.
Step 3
After checking that the box fits snugly in the hole you’ve cut, remove the knockout from the centre. Then push the box back into the hole and thread the cable through the opening created by taking out the knockout.
Step 4
Push in or turn the securing lugs so they grip the rear face of the plasterboard firmly. Connect the wires and fit the faceplate. Finally, use a Socket Tester to check the wiring is correct.
Take on any project with ToolStore UK
ToolStore UK has been supplying Hand Tools, Power Tools and Accessories for almost 60 years so there aren’t many projects our team hasn’t encountered. Our friendly and knowledgeable staff can be contacted via our website, by calling 03330 043777 or by calling into our shop, which is just a short walk from the Wigan railway stations. We’re here to help, whether that’s with big jobs or small tasks.
Read More From ToolStore UK
How To Put Up A Shelf
Read MoreKitchen Makeover Advice
Read More- 12th October 2022

Recently Viewed


Secure online payments via ![]()