How To Put Up A Shelf
Hanging shelves on a wall is often the finishing touch that completes a room and in addition to looking great, shelves can provide a brilliant, space-saving storage solution. But it’s important to prepare correctly to make sure you get the job done quickly and without stress.
Know your environment
Before you start, check what kind of wall you’re working with. Is it a masonry wall, or stud and plasterboard? The answer will affect the type of shelf you can choose, where you’ll have to place it and the weight-bearing capacity. If your shelf will be holding heavy loads, it should be placed on a masonry wall.
If you’re putting a shelf on a stud and plasterboard wall, the shelf brackets or supports should never be screwed into the plasterboard. Always attach the shelf to the studs or noggins, which are the struts placed between the studs to increase the strength of the board.
Then, you’ll need to decide whether you want to put up a floating shelf, or a traditional bracket-mounted style. A floating shelf is a shelf that has no visible means of support, as opposed to sitting on top of brackets which can be seen. Floating shelves can look brilliant but might not be suitable for bearing heavier loads.
Tools and materials you’ll need for the task
You’ll potentially need the following tools, although some will depend on the kind of wall you’re working with and how it has been decorated:
- Detector(s)
- A drill with hammer action, such as a Cordless Combi Drill (for working on a masonry wall)
- Level
- Screwdriver
- Tape measure
- Pencil
- Hammer
- Scraper or Wallpaper stripper
- Safety knife
- Filling knife
Here’s a full list of items you’ll potentially use, depending on the nature of the work you’re doing:
- Floating shelf (with support kit) or
- Shelf and brackets
- Wall plugs
- Screws – for stability, you need at least 50 mm screws if working with a masonry wall. For stud and plasterboard, 38 mm or 50 mm will offer the most stability.
- Masking tape
- Sugar soap
- Water based undercoat
- Filler
How to put up a floating shelf
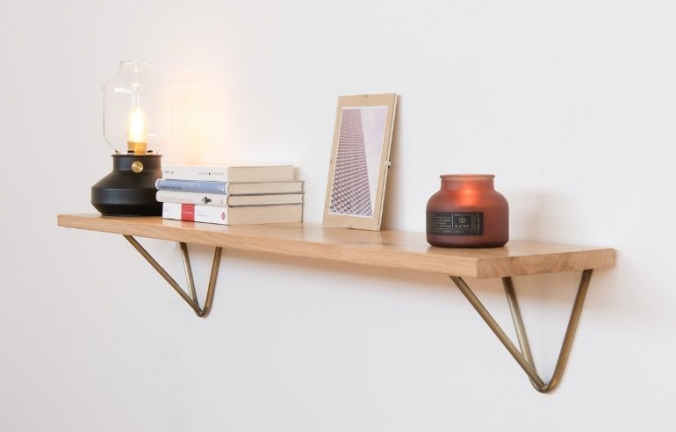
Floating shelves have hidden fixings, which makes for a shelf which looks thicker, yet offers a stylish and minimal look, as the bracket can’t be seen. Typically, Floating shelves are best suited to light to medium loads, such as small ornaments or paperbacks.
- Use your Detector to check the wall for studs, cables and pipes and decide where to position your shelf. Hold the first shelf support in place, ensuring that it’s the right way up, with the screw holes at the bottom.
- Mark the top of the support and the position of the two screw holes on your wall.
- Repeat these steps for the second shelf support by measuring and marking out the corresponding fixing positions. Always use a Level to ensure the fixings are in exactly the right place.
- If you’re working with a stud wall, you can now fix the supports in place by driving the screws through the plasterboard and into the stud or noggin behind it. You won’t usually need wall plugs, especially if you’re using heavy gauge screws.
- If you’re putting your shelf on a masonry wall, you’ll need a hammer action drill with a masonry bit. To ensure you’re drilling to the correct depth, use masking tape to mark the length of your wall plugs on the drill bit by measuring the length of the plugs, then wrapping tape around the appropriate point on the bit.
- Drill the screw holes to the required depth, then push the wall plugs in. They might need a light tap with a hammer to make sure they sit flush to the wall. You can then screw both support brackets to the wall.
Finally, slide the shelf into position and secure it to the supports from the underside.
READ NEXT: How To Unblock A Sink
How to put up a Bracket Shelf
Bracket shelves can bear heavier loads and a wider variety of objects than floating shelves, which can make them a striking feature within any room.
- Use your Detector to check the wall for studs, cables and pipes and decide where to position your shelf. Hold the first shelf support in place, ensuring that it’s the right way up, with the screw holes at the bottom and the longer arm against the wall.
- Mark the top of the bracket and the position of the two screw holes on your wall.
- Repeat these steps for the second shelf support by measuring and marking out the corresponding fixing positions. Always use a Level to ensure the fixings are in exactly the right place.
- If you’re working with a stud wall, you can now fix the brackets in place by driving the screws through the plasterboard and into the stud or noggin behind it. You won’t usually need wall plugs, especially if you’re using heavy gauge screws.
- If you’re putting your shelf on a masonry wall, you’ll need a hammer action drill with a masonry bit. To ensure you’re drilling to the correct depth, use masking tape to mark the length of your wall plugs on the drill bit.
- Drill the screw holes to the required depth, then push the wall plugs in. They might need a light tap with a hammer to make sure they sit flush to the wall. You can then screw both support brackets to the wall. Once they’re secure, double-check that they’re level.
- Rest the shelf on the brackets in its correct position and mark on the underside of the shelf where the bracket fixing screws will go. Use the marks to drill short pilot holes into the bottom of the shelf, taking care not to drill too deeply.
- Place the shelf back into position and secure it with screws.
ToolStore UK – with you every step of the way
We’ve been providing tools, accessories and consumables to trade professionals and DIYers alike since 1963, so here at ToolStore UK we know about most tasks you might need a tool for. Our friendly and knowledgeable staff can be contacted via our website, by calling 03330 043777 or by calling into our shop, which is just a short walk from the Wigan railway stations. No matter what you need, we’re here to help.
Read More From ToolStore UK
Kitchen Makeover Advice
Read MoreWallpaper Advice
Read More- 23rd September 2022
Recently Viewed

Secure online payments via ![]()