How to Build a Pergola: Step-by-Step Guide
Summer is here and we’re eager to make the most of our outdoor spaces. What better way to improve your garden than by building a pergola?
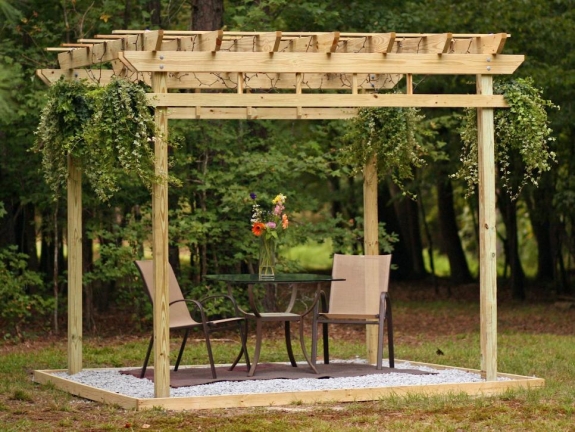
A pergola is a versatile, open-side structure, often made from wood. Featuring pillars, crossbeams, and an open lattice, it provides partial shade and an open, airy feel. Pergolas are ideal for framing passages and walkways or creating sitting areas for relaxation and alfresco dining. You can also train plants to grow around your pergola to improve their appearance and immerse yourself in nature.
In this step-by-step beginner guide, we’ll show you how to build a pergola and explain all the necessary tools and materials you will need.
Steps to Build a Pergola
- Prepare post holes or post supports
- Fix posts
- Set posts
- Fix supported beams
- Mark up rafters
- Fit rafters
- Finishing touches
Materials Needed
- Pressure-treated timber (for posts, beams, and rafters)
- Concrete mix (for setting posts)
- Galvanised screws and bolts
- Wood stain or sealant (optional for finishing)
Tools Needed
- Tape measure
- Spirit level
- Post hole digger or auger
- Shovel
- Power drill
- Circular saw or handsaw
- Hammer
- Ladder
- Safety gear (gloves, safety glasses)
- Nails
- Coach bolts
1. Prepare Post Holes
The first step to building a pergola is preparing holes or supports for posts. Measure out and mark the dimensions of your pergola. The building process varies slightly depending on which surface you are building on.
- If you’re building on the ground: Use a shovel to dig four 0.5m deep holes for your posts.
- If you’re building on concrete: Use a power drill to secure four post supports to the concrete. Skip steps 2 and 3 and move directly to step 4.
2. Fit posts
Next, carefully fit a post into a hole and use a spirit level to check the post is placed vertically. Then, use pieces of wood as temporary supports to hold the post in place. Repeat this process for the other three posts.
3. Set posts
Now, you’ll need to secure your posts using concrete. Postcrete is ready mixed and sets posts within 5-10 minutes.
Begin by backfilling the hole with stones to provide extra stability. Partially fill the hole with clean water, then add enough Postcrete to cover the water. Use a piece of wood to remove any air pockets and level the Postcrete. For detailed instructions, refer to the packaging.
Ensure your post is level, adjusting the supports if necessary. Repeat this process for the remaining three posts and allow each one 30 minutes to set.
4. Fit support beams
The support beams are the two beams at either end of your pergola that the rafters sit on. Follow these steps to fit them correctly:
- Cut the beams: First, using a handsaw or circular saw, cut the support beams to the correct length, ensuring they overhang your posts equally on both sides.
- Prepare the posts: Measure from the top of each post and mark where the support beam will sit. Hammer in a nail at this mark on each post to hold the beam in place temporarily.
- Position the beams: Rest the support beam on top of the nails and use clamps to hold it in place. If the beams are heavy, ask for help lifting them. Use a spirit level to ensure the beam is level and the overhang is equal on both sides.
- Secure the Beams: Mark the centre of each post on the support beam. Drill two equally spaced pilot holes and then use coach bolts to secure the beam to the post.
5. Mark Up Rafters
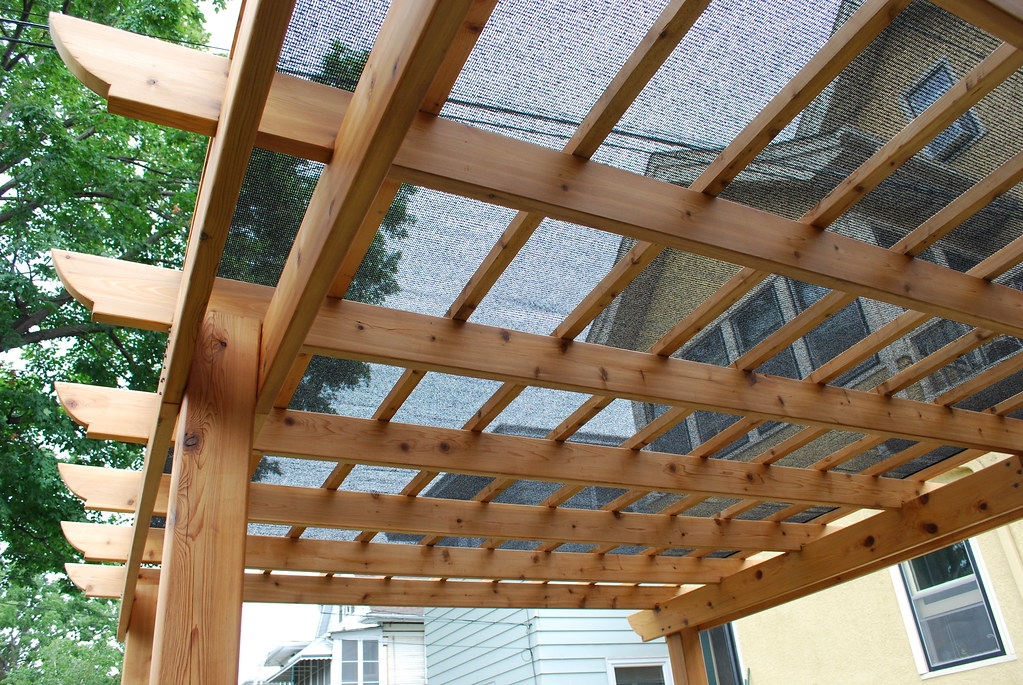
Rafters are the beams that run perpendicular to your support beams. They should overhang the support beams equally on both sides. Follow these steps to mark them up:
- Align the Rafters: Lay your rafters out and align them at one end. Ensure they are all the same length and trim any that are too long.
- Mark the Rafters: Measure and mark where each rafter will sit on the support beam at both ends. Drill pilot holes at these marks to make securing them easier later.
6. Fit Rafters
Now it's time to fit the rafters onto the support beams:
- Create a Spacer: Use a circular saw or handsaw to cut a piece of wood to use as a spacer to keep the gaps between your rafters uniform.
- Measure for Spacing: Measure the width of one rafter and your spacer. Use this measurement to mark where each rafter will be placed, ensuring equal spacing at both ends.
- Secure the Rafters: Place each rafter on the support beams using the spacer to maintain consistent gaps. Secure each rafter with woodscrews using the pilot holes you previously drilled. If the rafters are heavy, ask for help lifting them onto the support beams.
- Repeat: Continue fitting the remaining rafters until your pergola is complete.
7. Finishing Touches
With your pergola assembled, consider applying paint or wood stain to protect it from the elements. Also, you can place outdoor furniture under your pergola for dining or relaxation. Finally, place, hang, and train plants around your pergola to surround yourself with nature.
![How to build a pergola: Step-by-step guide]()
Build a Pergola with ToolStore UK
Now that you have our step-by-step guide on how to build a pergola, it's time to gather the tools you'll need. ToolStore UK offers everything required to complete your pergola project. Browse our extensive online store or contact our friendly staff for more information.
Tools Needed
- Tape measure
- Spirit level
- Post hole digger or auger
- Shovel
- Power drill
- Circular saw or handsaw
- Hammer
- Ladder
- Safety gear (gloves, safety glasses)
- Nails
- Coach bolts
Get started today and create the perfect outdoor space with ToolStore UK!
- 11th June 2024
Recently Viewed


Secure online payments via ![]()